Install Firefox on your computer (PC running Windows 7 / Vista / XP)
 The previous tutorial explained how to download Firefox for Windows 7 / Vista / XP; in this tutorial, you will learn how to install Mozilla's Firefox web browser on your computer. If you have not yet downloaded your free copy of Firefox, go do it first, and come back to this tutorial to go through the installation process for Windows. This tutorial will show you how to use the custom installation settings, which give you more control than the default install. Except where otherwise noted, the installation process is identical whether you are running Windows XP, Windows Vista, or Windows 7.
Customize the Firefox installation on your computer
Follow these steps to install Firefox on your PC, and customize the installation:
- First, double-click on the Mozilla Firefox installer you just downloaded:

- Windows 7 / Vista / XP will launch the Firefox installer, which will guide you through the steps of installing and customizing Firefox for your computer; several of these options can also be configured at a later time, once Firefox has been successfully installed.
- If you receive a "Run / Don't Run" confirmation message, click on the "Run" button; likewise, if you get a security UAC prompt, choose "Confirm" (Windows Vista) or "Yes" (Windows 7) to launch the Mozilla Firefox installer:
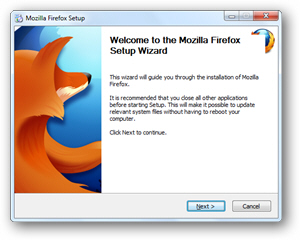
- Click on the "Next" button, and the following screen will let you choose your Firefox installation type: to use all the defaults, leave "Standard" checked, and click on Next. To customize how installed on your PC, choose the "Custom" option instead, and click Next. We will choose to configure our installation settings.
- The next screen lets you change the folder in which Firefox will be installed: we recommend that you keep the default directory, which is "
C:\Program Files\Mozilla Firefox\" (32-bit edition of Windows), or "C:\Program Files (x86)\Mozilla Firefox\" for any 64-bit version of Windows 7 / Vista / XP. Click "Next". - The next screen lets you choose where to place shortcuts to Firefox on your PC:
- All three are checked by default: "On my Desktop" will place the Firefox icon on your desktop, so you can double-click it to launch the application. "In my Start menu Programs folder", if left checked, will add shortcuts to Mozilla Firefox inside the Windows start menu: this is especially useful on Windows Vista and Windows 7, where you'll be able to simply start typing "Firefox" inside the start menu's search field and hit Enter to open the web browser. Finally, "In my Quick Launch bar" only applies to Windows XP and Windows 7 (learn how to enable Quick Launch in Windows 7).
- Click "Next" to proceed, and optionally choose another name for the "Mozilla Firefox" start menu folder (we recommend that you keep this easy-to-remember name).
- On the next screen, the "Use Firefox as my default web browser" checkbox is checked by default; uncheck it if you want to keep your current default browser. (Note that you can always later on manually set Firefox as default browser.)
- Click on the "Install" button to finish the installation. Within a few seconds, the installation wizard will load the final screen, and confirm that Firefox has successfully been installed on your computer:
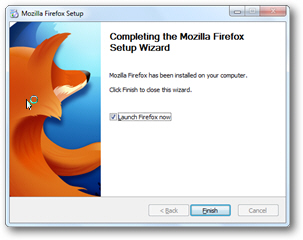
- If, before clicking on the Finish button to close the installer and return to Windows, the "Launch Firefox now" checkbox is checked, the browser will open when the installer closes. And this is all it takes to install Firefox on a Windows PC!
If you are using Windows Vista, uncheck that checkbox: otherwise, unless you are the computer administrator and the only Windows user on this computer, Firefox will run under administrative privileges, which (aside from security concerns) means that your settings will not be visible next time you run Firefox the "normal" way, under your own user profile.