Creating an Email Signature in Apple Mail
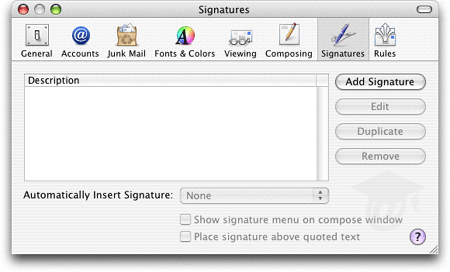
Rather than having to type a signature in each email you send, Apple Mail can automatically append a pre-defined signature to your emails. To add a signature in Apple Mail, go to Mail > Preferences, then click the Signatures tab:
Creating a New Signature
 Click the Add Signature button; a text area will slide open, and let you type your signature.
Apple Mail also lets you insert an image as part of your signature. To add a picture to your signature, simply drag a graphic file from your computer to the new signature's text area. (Keep in mind that graphics in your signature increase your blank email size.)
Automatically Inserting a Signature
 Apple Mail allows you to add multiple signature. If you use the same email account most of the time, you may want to select a default signature from the drop-down menu, so that Apple Mail appends it for you automatically.
In addition, Apple Mail lets you rotate between automatic signatures by choosing "In Random Order" or "In Sequential Order" from the signature drop-down menu.
Signature Options
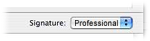
If you regularly use several email accounts, checking the Show signature menu on compose window checkbox is a handy addition, which lets you pick on the fly which signature to append for a given email.
By default, Apple Mail will add signatures at the very bottom of your email. If you happen to be responding to an email, your signature should preferably show up below your message, but above the message to which you are replying: in this case, make sure that the Place signature above quoted text checkbox is checked.